Finishing to the wall
 Audio for slide 1 (mp3 |6|KB)
This gives you a bit of leeway with the measurements while you're positioning and levelling the cabinet.
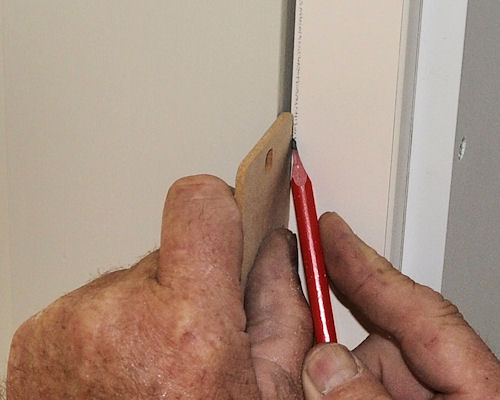
It also lets you scribe and re-cut the filler if it turns out that the wall isn't plumb or there is a hollow or curve in the wall.

 Audio for slide 2 (mp3 |6|KB)
Out-of-plumb walls
The process for scribing and recutting a filler piece to match the deviations in a wall is much the same as for scribing templates and larger panels. We've talked about this process in the lesson: 'Templates' from the unit Checking fit of cabinets. The process of recutting or shaping a piece is covered in the lesson: 'Panels and bench tops' from the unit Adjusting cabinets on-site.

 Audio for slide 3 (mp3 |6|KB)
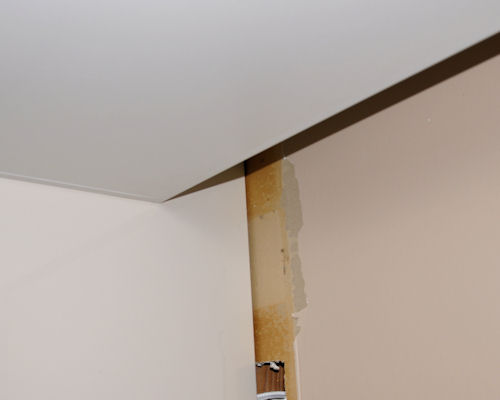
Note that the cabinet itself will need to have a reduced depth so that the wall deviations don't push the cabinet forward.
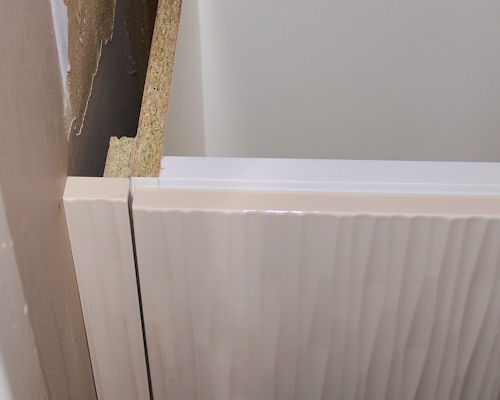
This photo shows a cabinet set in 200 mm from the wall, with a scribed end panel.
Just remember that if you're using this technique, you need to make allowance for the extra board thickness (generally 16 mm).

 Audio for slide 4 (mp3 |6|KB)
Cornices
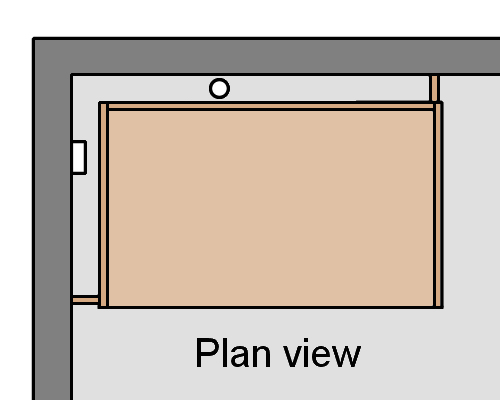
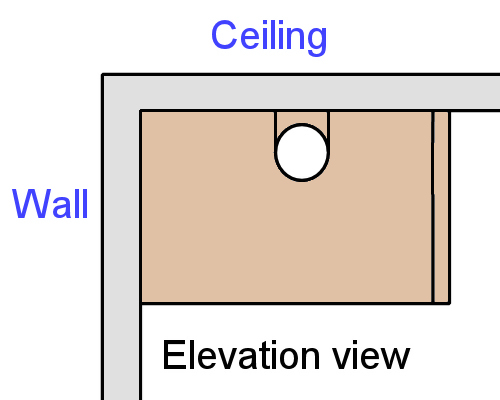
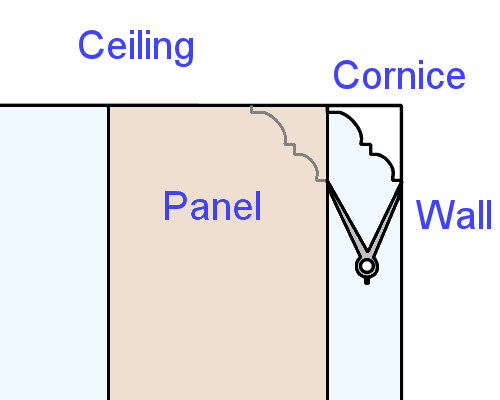
If you're installing wall cabinets that go right to the ceiling, you may find that you need to scribe around a cornice. In this instance, it's often easiest to use a pair of dividers to draw the shape. The profile line can either be scribed onto a template or directly onto the panel itself. Make sure you keep the dividers horizontal so that the line stays exactly parallel at all times.


Learning activity
Audio 8 (mp3 |6|KB)We've talked about using dividers to scribe the profile of a fancy cornice. But there are other tools available, such as a profile gauge, which can be used to transfer very detailed shapes across to a panel.
Have you ever seen or used a profile gauge? If not, ask your supervisor or work colleagues if they can show you one and demonstrate how it works.

 Go to Assignment