Level checks
 Audio for slide 1 (mp3 |6|KB)
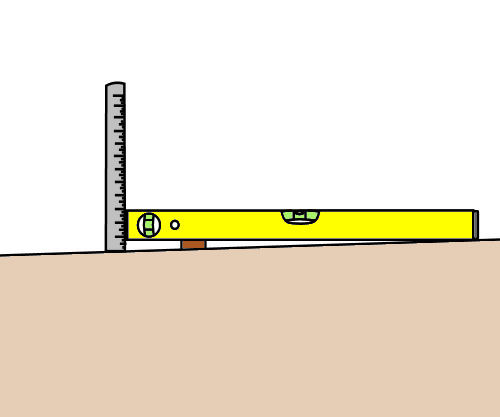
Level means perfectly horizontal, which is 90 degrees to a plumb line.
Kitchen floors can be out of level if the building's footings or framing have settled unevenly or if there are problems in the subfloor materials or workmanship.

Kitchen floors can be out of level if the building's footings or framing have settled unevenly or if there are problems in the subfloor materials or workmanship.
 Audio for slide 2 (mp3 |6|KB)
Bathrooms always have an inbuilt fall towards the floor waste pipe to allow splashed water to drain quickly.
So you have to find the highest point in the floor, and use that as your starting point.
So you have to find the highest point in the floor, and use that as your starting point.
 Audio for slide 3 (mp3 |6|KB)
But before you check the levels, you need to know whether there is a specified height for the bench tops.
The finished height may have been specified to match existing units or fit under a window sill or other feature.
Once you know the height you're working to, subtract the thickness of the bench top and then draw a horizontal line around the room where the cabinets will go.
This will be the finishing height of the carcases.
 Audio for slide 4 (mp3 |6|KB)
Some installers use a spirit level to draw the level line.
Others use a laser level to 'shoot' lines around the walls.
When this reference line is in position, you can measure down to the floor at various points and establish where the high spots are.
Others use a laser level to 'shoot' lines around the walls.
When this reference line is in position, you can measure down to the floor at various points and establish where the high spots are.
 Audio for slide 5 (mp3 |6|KB)
If a finished bench top height wasn't specified, you can simply work from the floor up.
However, you still need to think about the finished height, because if there's a significant fall in the floor, you might end up with a bench top that's too high at the low end.
For example, if you started with a height of 900 mm at the high end, and the overall fall was 60 mm, the bench top would be 960 mm above the floor at the low end.
This is too much.
 Audio for slide 6 (mp3 |6|KB)
To fix this problem, you should take an average height, say 900 mm, and balance the high and low points either side.
So your bench top in the example above would run from 870 mm where the floor is at its highest to 930 mm where the floor is lowest.
So your bench top in the example above would run from 870 mm where the floor is at its highest to 930 mm where the floor is lowest.
 Audio for slide 7 (mp3 |6|KB)
When you install the plinth (base framework), you'll need to accommodate the fall in the floor by either planing the material, packing under it, or both.
In some cases, the cabinets themselves can also be levelled with adjustable feet.
We'll talk more about these techniques in the units Adjusting cabinets on-site and Installing cabinets on-site.
In some cases, the cabinets themselves can also be levelled with adjustable feet.
We'll talk more about these techniques in the units Adjusting cabinets on-site and Installing cabinets on-site.

Learning activity
Audio 8 (mp3 |6|KB)Use your spirit level to check the floor levels in the building you're in. Look for the high and low spots by checking levels in various places. A 1200 mm level is best for this task. If the bubble is not in the centre of the vial, lift the level at one end until the bubble centres, and then put a packing piece in the gap to keep it level. Measure the gap with a tape measure or steel rule.
See if you can calculate the difference between the highest and lowest points by adding up the discrepancies.