Installing the base
 Audio for slide 3 (mp3 |6|KB)
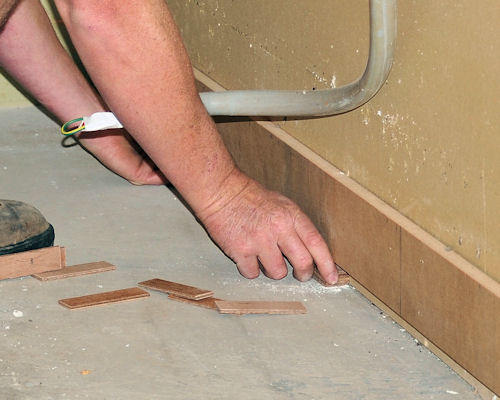
2. Level the top edge of the plinth with a spirit level or laser level, and make adjustments as required.
If only small adjustments are needed, you can use packing pieces, such as 4 mm plastic laminate.
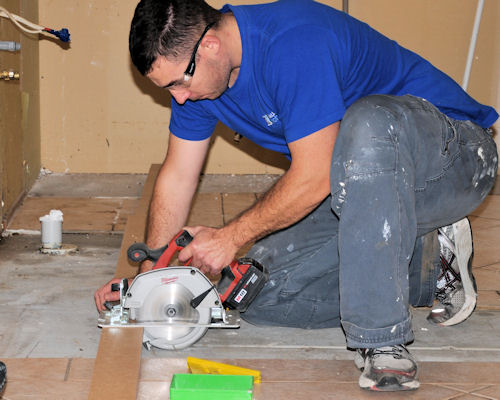
For bigger gaps or variations in floor levels, you may need to scribe the kickboard to the contours or slope of the floor, and reshape the underside of the kickboard with a plane.

If only small adjustments are needed, you can use packing pieces, such as 4 mm plastic laminate.
For bigger gaps or variations in floor levels, you may need to scribe the kickboard to the contours or slope of the floor, and reshape the underside of the kickboard with a plane.

 Audio for slide 4 (mp3 |6|KB)
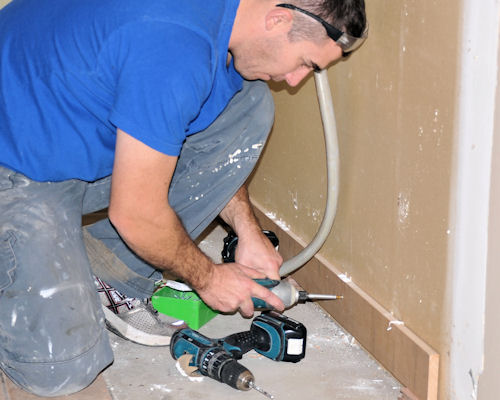
3. Seal the exposed edge of the kickboards that come into contact with the floor, and fix the rear of the plinth to the floor or base of the wall.
If the floor and walls are timber framed, you can use nails or screws.
If the floor is concrete, use brackets screwed to the inside of the plinth and fastened to the floor with masonry anchors.

If the floor and walls are timber framed, you can use nails or screws.
If the floor is concrete, use brackets screwed to the inside of the plinth and fastened to the floor with masonry anchors.


Learning activity
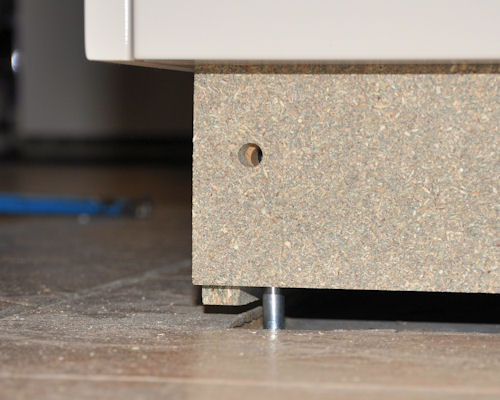
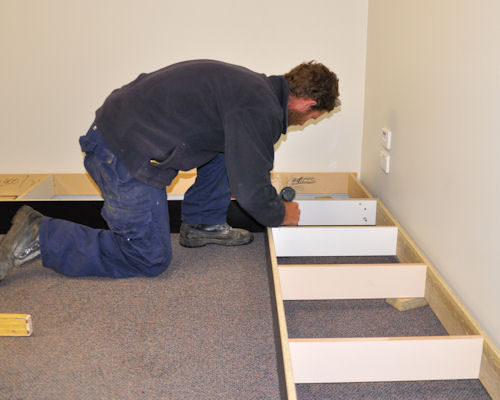
Audio 5 (mp3 |6|KB)The method described above is just one way of constructing a plinth. There are also cabinet designs that have built-in bases, which means that a separate plinth isn't needed at all.
What methods does your company use to carry out this part of the installation? How is the levelling done? What are the kickboards fixed to?
Write down your answers and share them with your trainer and other learners in your group. If possible, take digital photos to go with your descriptions.

 Go to
Go to