Overview
 Audio for slide 1 (mp3 |6|KB)
In this section, we'll pick up from the point where the setting out has been completed and the cabinets are ready to install.
For more information on the types of adjustments that may need to be made before the cabinets can be put in place, see the unit: Adjusting cabinets on-site.

For more information on the types of adjustments that may need to be made before the cabinets can be put in place, see the unit: Adjusting cabinets on-site.

 Audio for slide 2 (mp3 |6|KB)
The first step in the installation process is to determine what the finishing height of the bench top will be.
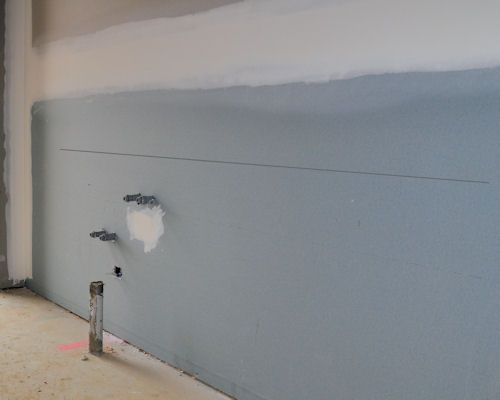
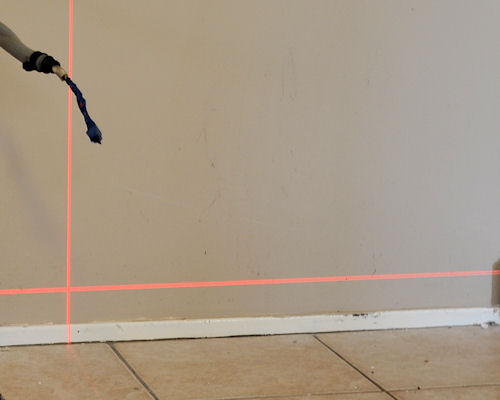
Once the height has been established, you should subtract the thickness of the bench top and then draw a horizontal line around the room to mark where the tops of the cabinets will finish.
This forms the 'zero point', or reference line for the installation.

Once the height has been established, you should subtract the thickness of the bench top and then draw a horizontal line around the room to mark where the tops of the cabinets will finish.
This forms the 'zero point', or reference line for the installation.

 Audio for slide 3 (mp3 |6|KB)
For more details on the process of checking floor levels and deciding on the height of this line, go back to the unit: Checking fit of cabinets.


Completing this section
Audio 4 (mp3 |6|KB)The assignment for this section is designed to test your knowledge of the principles involved in installing cabinets on-site. Have a look at the Assignment now to see what you'll need to do to complete it.
Also in the menu bar are links to the six lessons for this section:
- Installing the base
- Installing floor cabinets
- Installing wall cabinets
- Fitting bench tops
- Fitting doors and drawers
- Finishing to the wall.
These lessons will provide you with background information relevant to the assignment.
The Just for fun exercise presents a range of tools used by on-site installers, and asks you to identify them and think about where you would use them in your own work.

 Go to Installing the base